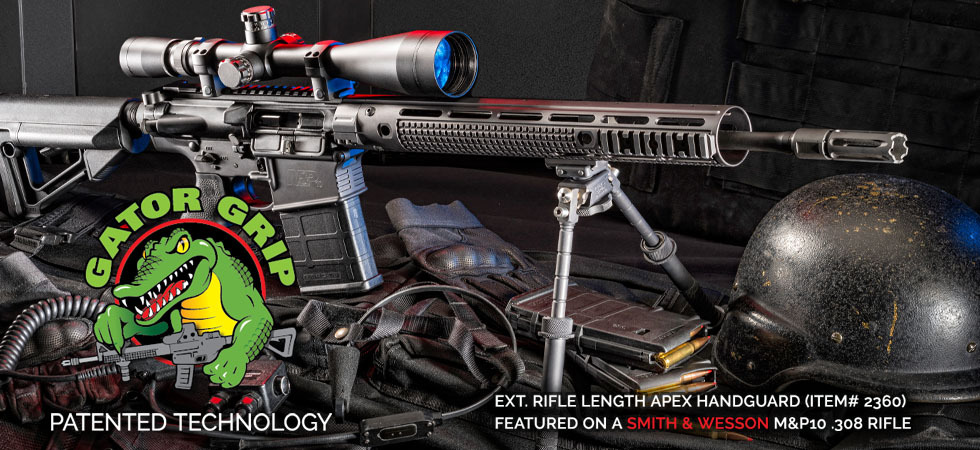


Apex Handguard Installation Instructions
Revised 8/17/17
REVIEW & INSTALLATION VIDEO BY RAMPART GEAR
REVIEW & INSTALLATION VIDEO BY LAUDERDALE TACTICAL
Apex Handguards are designed to be rigid and strong, to hold accessories stable, and to create a secure connection between firearm and shooter. Installation requires some knowledge of the assembly of AR10 & AR15 rifles. You may choose a qualified gunsmith to install your handguard, if desired.
Materials required:
Factory Barrel Nut (may be purchased on our website)
VC-3 Vibra-Tite or Blue Loctite (DO NOT USE RED GREEN) or Equivalent
Tools required:
5/32” hex key
1/8” hex key
DISCLAIMER: Tightening screws during installation will mark the finish on our products. If product is returned within 30 days of purchase date:
Never installed - 100% refund
Previously installed - 50% refund
All returns are evaluated before refunds are made.
HANDGUARD INSTALLATION TO RIFLE:
Make sure weapon is unloaded before installing handguard on rifle.
Factory barrel nut will be required to be installed and properly torqued according to rifle manufacturer’s specifications (generally between 30-80 foot pounds), if assembling a rifle from the ground up.
1. If replacing existing handguard with Apex Handguard:
a. Remove existing handguard and factory style barrel nut
b. Remove delta ring-You may slice off delta ring, snap ring, and spring with an abrasive wheel on a Dremel tool to eliminate removing barrel nut
c. Replace barrel nut
d. Follow ALL instructions under 6) below
2. If installing handguard with a low profile gas block:
a. Install low profile gas block to barrel (if needed)
b. Follow ALL instructions under 6) below
3. If a permanently installed muzzle device prevents tube from sliding onto muzzle end of barrel:
a. Remove barrel from upper receiver
b. Slide handguard tube onto barrel assembly
c. Replace barrel onto upper receiver
d. Follow ALL instructions under 6) below
4. If a front sight gas block is used with a permanently installed muzzle device:
a. Loosen and slide front sight gas block forward toward muzzle end of barrel
b. Follow ALL instructions under 3) above
c. Follow ALL instructions under 6) below
5. If a front sight gas block is used:
a. Loosen and slide front gas block off barrel
b. Follow ALL instructions under 6) below
c. Slide front gas block back onto barrel and secure it to barrel after completing 6) below
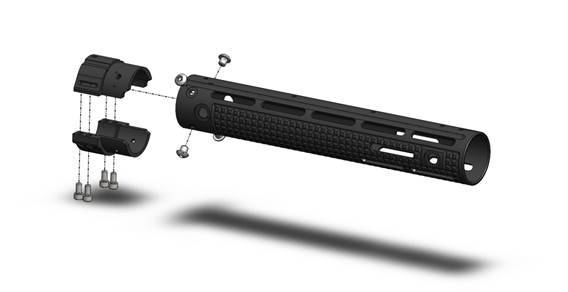
6. Mounting clamp and handguard tube:
There will be a slight gap between clamp halves after being properly torqued.
a. Place two halves of Apex Handguard System clamp around barrel nut and thread four socket head cap screws (included) partly in, leaving loose enough to allow some movement in clamp. There should be a slight gap between clamp halves.
b. Slide end of handguard tube and line up with four holes over clamp and loosely install four included button head screws.
c. Once tube is over clamp, position the assembly so clamp screws are facing bottom of rifle and snug all screws evenly, maintaining an equal gap between clamp halves.
d. Lastly, tighten all screws evenly to prevent movement of clamp
e. After final safety and function checks, it is recommended one screw at a time be removed and secured with VC-3 Vibra-Tite or Blue Loctite (DO NOT USE RED OR GREEN) or Equivalent, and torqued to APPROXIMATELY 60 INCH POUNDS. As with any piece of equipment, screws should be checked periodically for tightness.
Torque is determined by multiplying applied force by distance from pivot point to point where force is applied. A standard 5/32” Allen wrench is approximately 4.0” long; therefore, it will require 15 lbs. of down force to equal approximately 60 inch pounds.
7. If installing handguards with cutouts:
a. Remove original sling swivel.
b. Ears of swivel will need to removed
c. Bayonet lug may be left in place
d. An access hole for pinning front sight gas block to barrel is provided in side of handguard tube
ACCESSORY AND TOP RAIL INSTALLATION TO HANDGUARD:
1. Mount Accessory Rails with M-Lok nuts:
a. Thread M-Lok nuts (included) onto screws (included) through accessory rail.
b. Place accessory rail at desired location on handguard.
c. Additional info for M-Lok attachment and torque requirements can be found directly through Magpul:
M-LOK Tips (dropbox.com)
2. Mount Top Rails:
a. Thread special flat head screws (included) to mount rail directly to tube using holes along top of tube & clamp
b. Hex key is supplied with top rail